


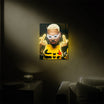


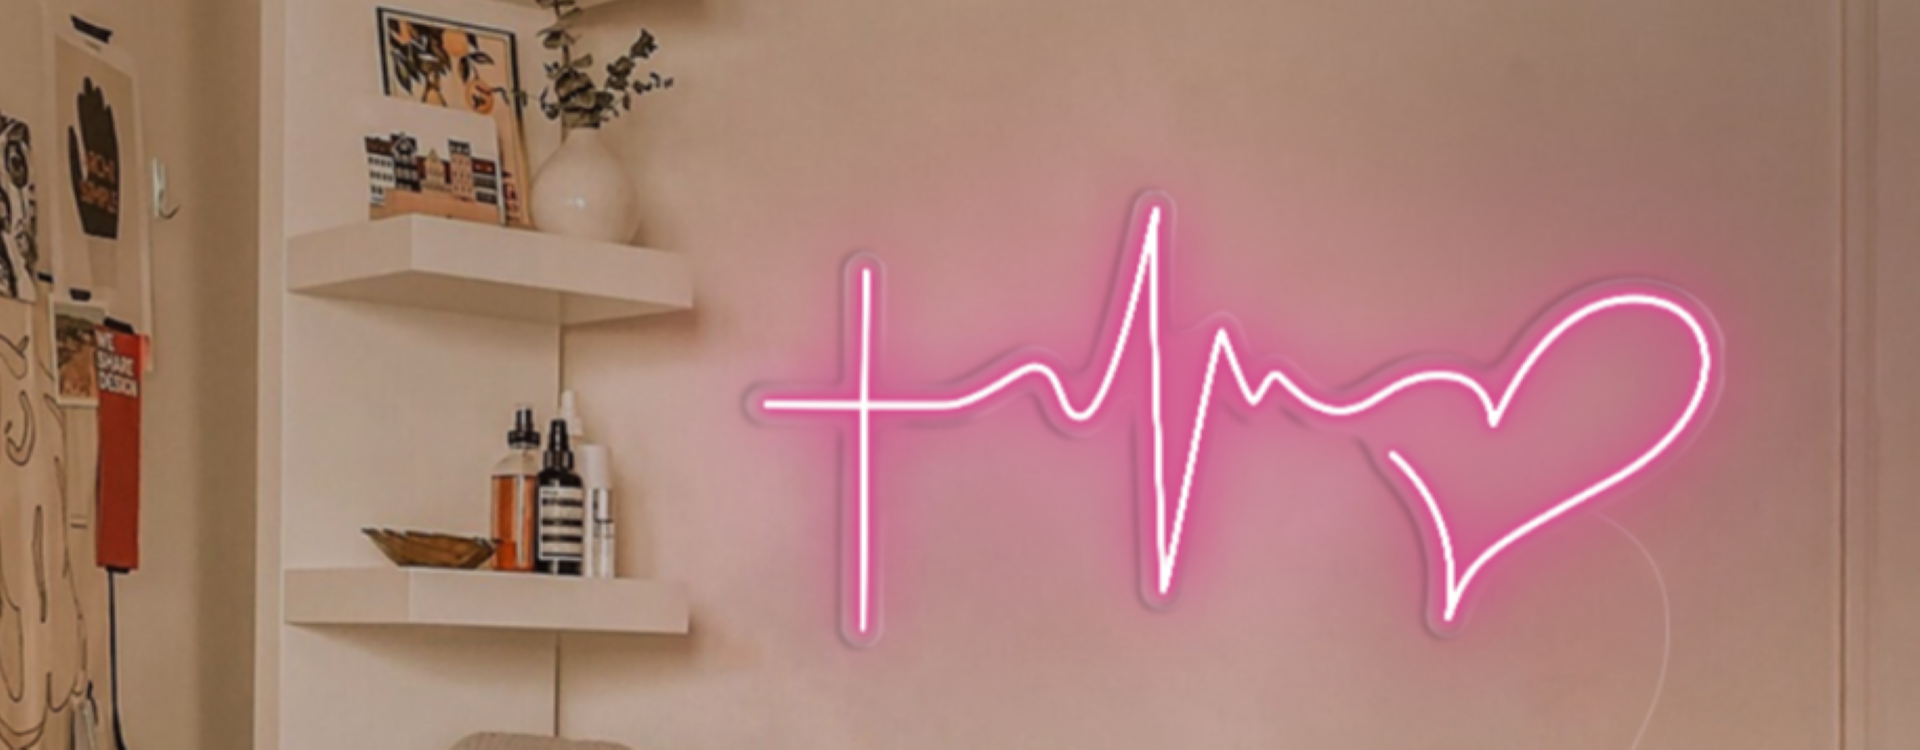
When you make a purchase of any neon sign from Lamomo, you will discover that there are 4 display options available for you to choose from. These include the Sticky Hooks, the Wall Screw, the Hang Wire and the Ceiling Suspension Wire. All of them are easy to install, just simply following this neon sign installation guide, we have made every step clear for you.
1.Sticky Hooks

Step 1: Use a pen to mark through the pre-drilled holes before sticking the hooks.

Step 2: Remove the backings of the hooks and stick them right on the marks, and hang the neon sign on the hooks.
Please check the below installation video for more details.
2.Wall Screw

Installation accessories: barrels, wider screw with thread caps, drywall anchors and small screws.
Step 1: Use a pen to mark standoffs through the pre-drilled holes before inserting the screws.
Step 2: Simply drill the marked areas.
Once you have your holes ready, take the drywall anchors and tap the green sleeves into the wall with a hammer.

Step 3: Separate the mounting hardware by unscrewing the wider screw on the top.
Insert a small screw into the bottom portion. Then screw it into the wall, make sure the connection should be nice and snug, without over tightening it.

Step 4: Take off the washer from the wider screw.
Put the wider screw through the pre drilled hole of the sign and put the washer back to wider screw from the backside of the sign.

Step 5: Put the wider screw through the pre drilled hole of the sign and put the washer back to wider screw from the backside of the sign.

Step 6: Simply screw them into the drywall anchors with your hand.

Please check the below installation video for more details.
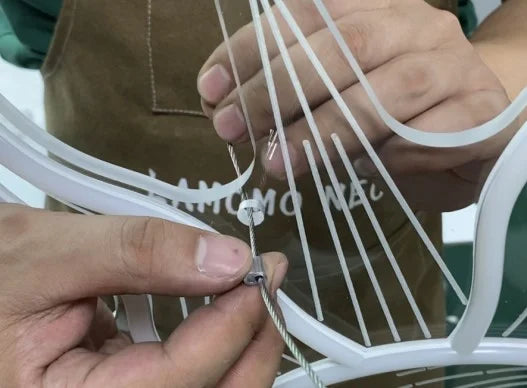
3. Hanging Wire

Installation accessories: aluminum buckle, hanging clips, steel wire, drywall anchors, screws, support.
Step 1: Firstly, drill a desired area on your wall. Once you have your hole ready, take the drywall anchors and tap into the wall with a hammer.

Step 2: Insert the screw into the bottom portion of the support. Drive it into the wall, make sure the connection should be nice and snug.

Step 3: Take the end of the steel wire without aglet and insert it through aluminum buckle and the neon sign hole, then go through the other hole of the buckle.

Step 4: Steel wire go through hanging clips.

Step 5: Connect the hanging clips and nut on the wall tightly

Please check the below installation video for more details.
4. Ceiling Suspension Wire

Installation accessories: aluminum buckles, vertical mounts, hanging wires, drywall anchors, small screws.
Step 1: Measure the distance between the pre-drilled holes of the sign.

Step 2: Measure the same distance on the ceiling and mark the areas with a pen

Step 3: Put the vertical mount on the marked area and drill the three holes through the vertical mount.

Step 4: Tap the drywall anchors into the holes with a hammer.

Step 5: Hanging wire insert the vertical mount from the small side, adjust the wire with the button at the end of the vertical mount.

Step 6: Align the vertical mounts, screw nails into the drywall anchors.

Step 7: Hanging wire go through aluminum buckle.

Step 8: Hanging wire go through the sign hole.
Step 9: Then go through the other hole of aluminum buckle.

Step 10: Align the neon sign to measure the height you want and make sure it will sit level.

Step 11: Use pliers to seal the aluminum buckle, trim the overextended wire if necessary.

Please check the below installation video for more details.
Please feel free to email us if need further assistance.